Hand embroidery roses with stem stitch ? You wonder how? don’t worry. You will learn how after following my tutorial.
It has been a while that I posted something here. I know it seems like that I had forgotten my website. Sincerely it was not. Updating the site was always in my mind but unfortunately I was very busy with some personal stuff. Ok. enough talking about myself. Let’s get into the business.
It was one fine Saturday afternoon and it was heavily raining. So I decided that it was the ideal time to start stitching these Roses design. (If you are following me in YouTube for a while you know that my first tutorial is about this same stitch)
So I sat by my kitchen door with my supplies and sketched the pattern onto my fabric. Then I started stitching these stem stitch roses while watching the rain. It was so relaxing to hear the sound of the rain and the sound of the needle. That was the peaceful feeling I needed after some very busy and hectic days.
Stitching the stem
First I started stitching the stems. I used Back Split stitch with 6 strands of cotton embroidery thread.
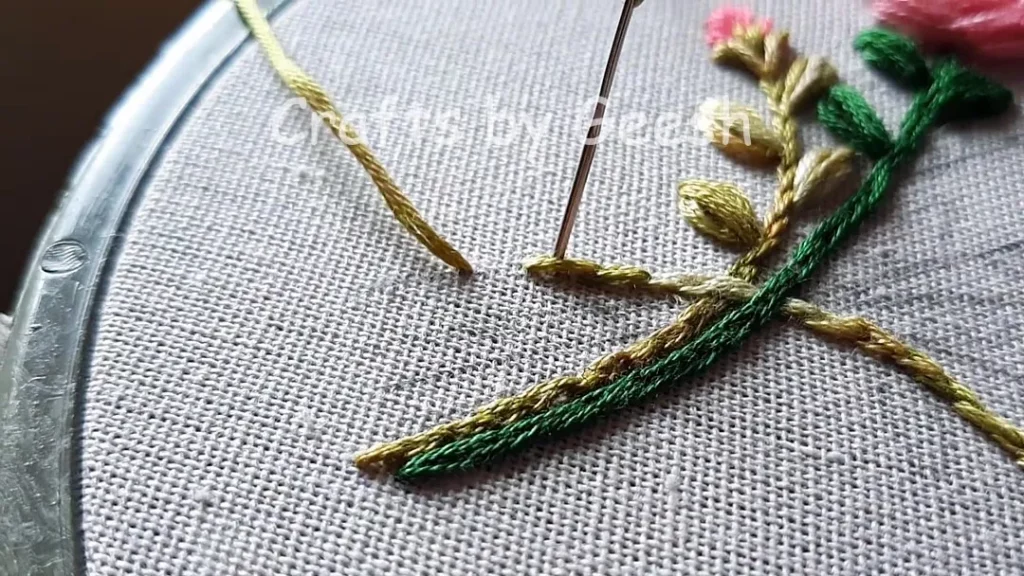
Back split stitch is one of the common stitches I use when I want to stitch stems with some width.
NOTE – Please note that I used 6 strands of cotton embroidery floss for this entire design.
Stitching the Leaves
For the leaves I experimented something new!! First I stitched a lazy daisy stitch and then I stitched two straight stitches over lazy daisy stitch.
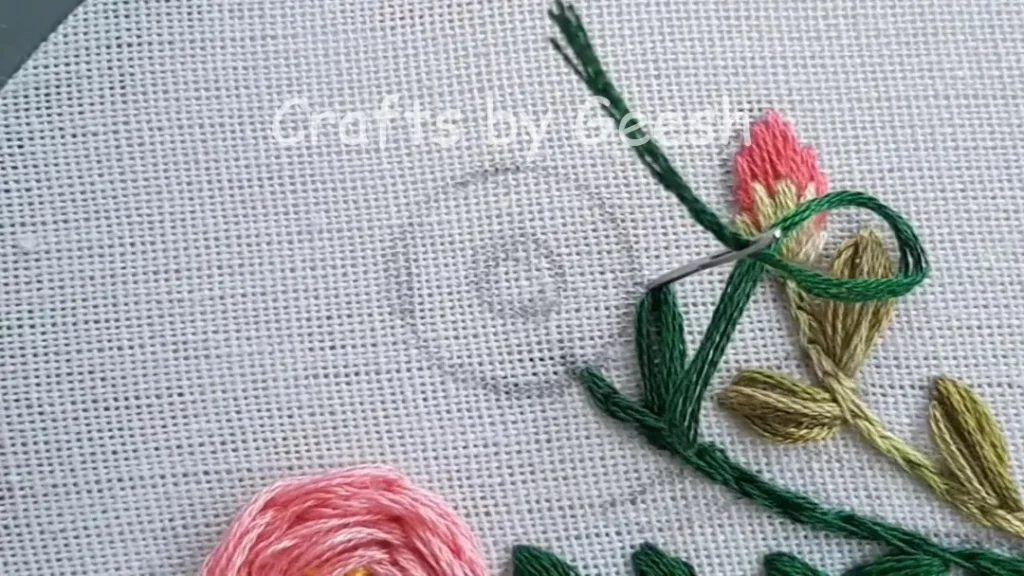
If you like you can keep the lazy Daisy stitch only. But I personally don’t like the white area in the middle of a lazy daisy stitch. That is why I covered it up with two straight stitches.
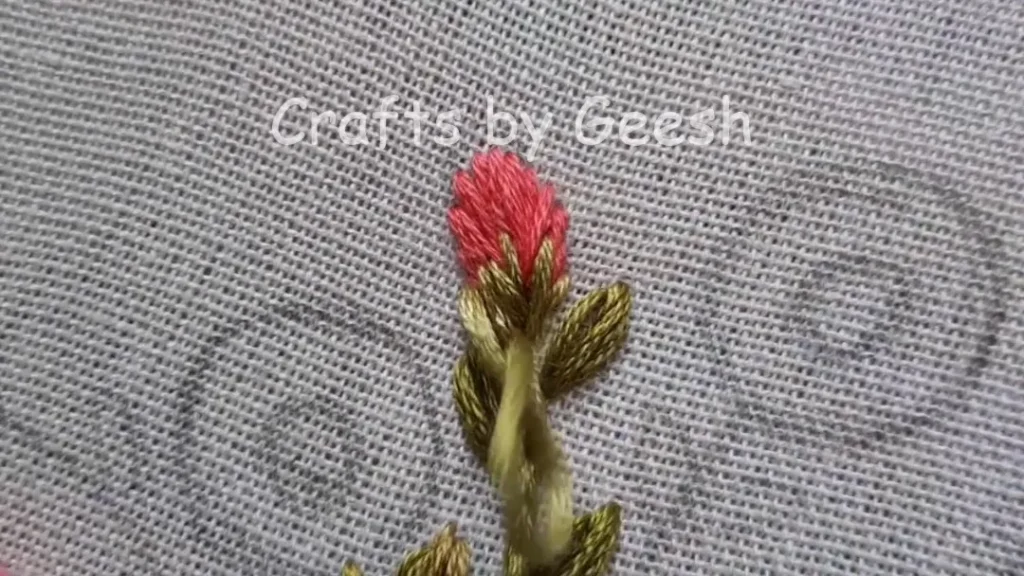
Stitching the rose bud
When stitching the rose bud, I simply filled it in using a Satin stitch application. You can check the tutorial video for clear instructions for how I did it. Satin stitch can do miracles when it comes to filling empty spaces !! I know you all will agree with that statement!!
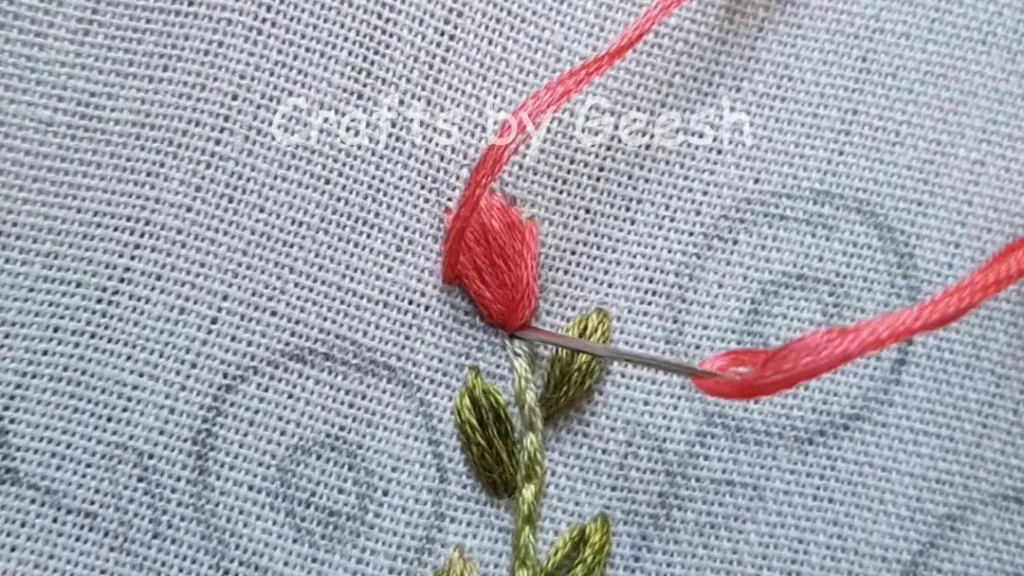
For the bottom part of the bud, I used some random straight stitches with green thread. Those stitches do not follow any proper direction!! Yes That is how they are in the nature !!
Hand Embroidery roses with stem stitch – Let’s stitch the roses now !!
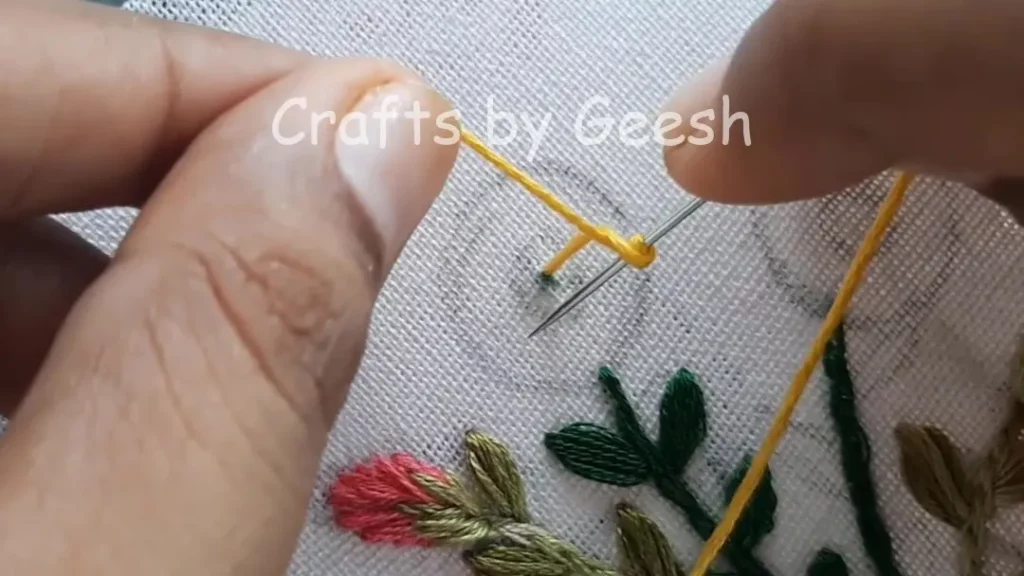
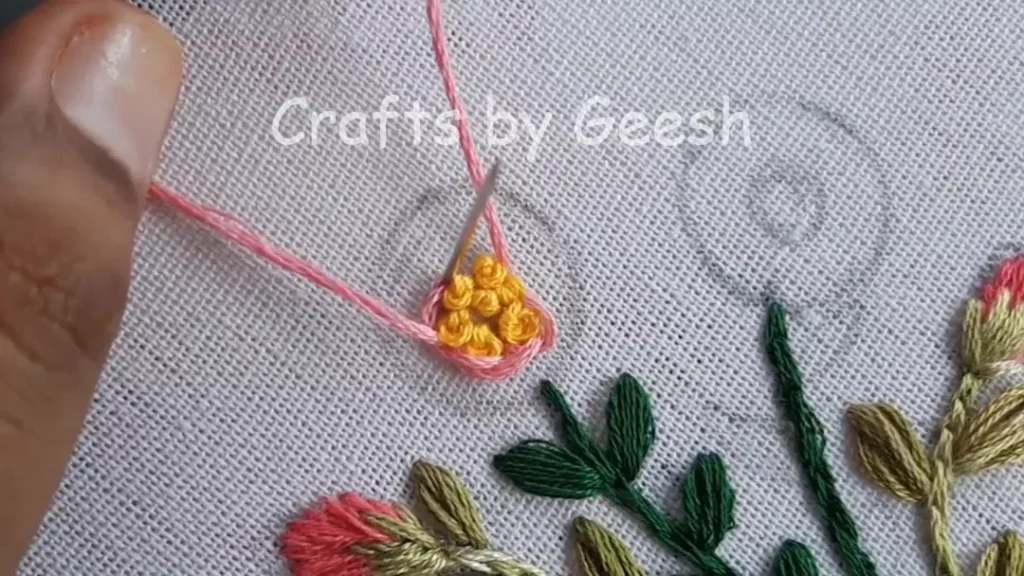
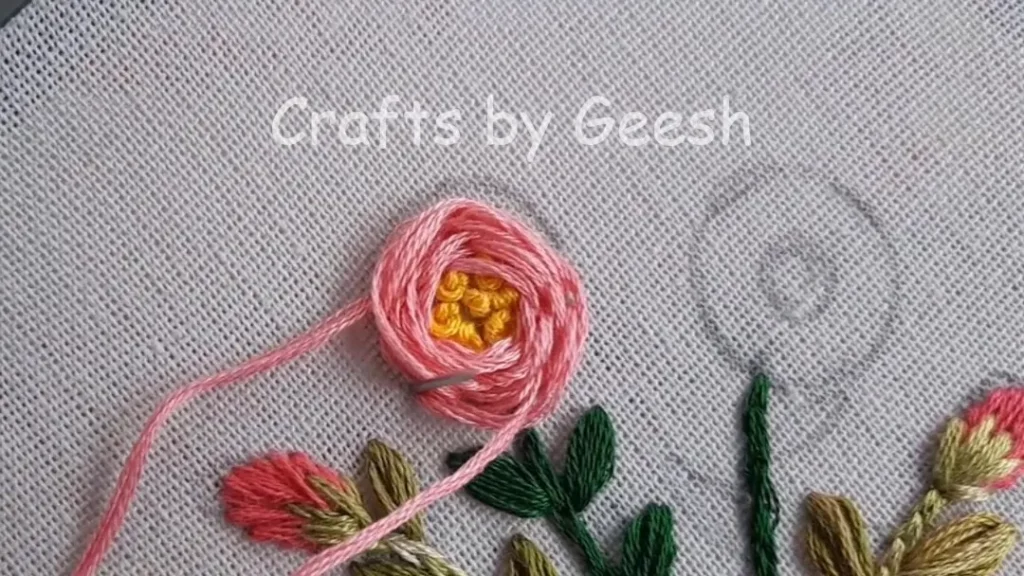
Finally the ROSES !!! First I filled in the heart of the flower with some French knots. I used two turns of thread for these knots. French knots are my favorites when it come to fill in the middle part of the flowers. What is yours??
Then I started stitching Stem stitches around this French knotted center. It was so exciting to see how these little stem stitches form the texture of a rose. I have used this method to stitch roses for two or more projects before. There I had to play around a lot to figure out the perfect way of handling the thread.
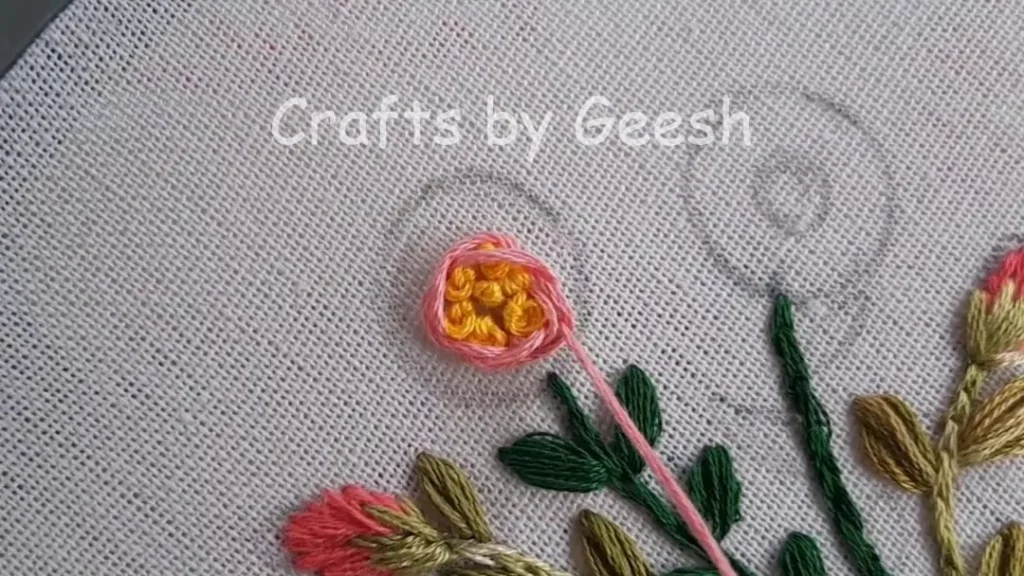
So here are the tips you need to know when stitching roses with stem stitch:
Tip number 01 – Don’t pull the thread too tight. Don’t let the thread be very loose either. Be gentle with the thread when pulling.
Tip number 02 – Slightly increase the stitch size as you stitch.
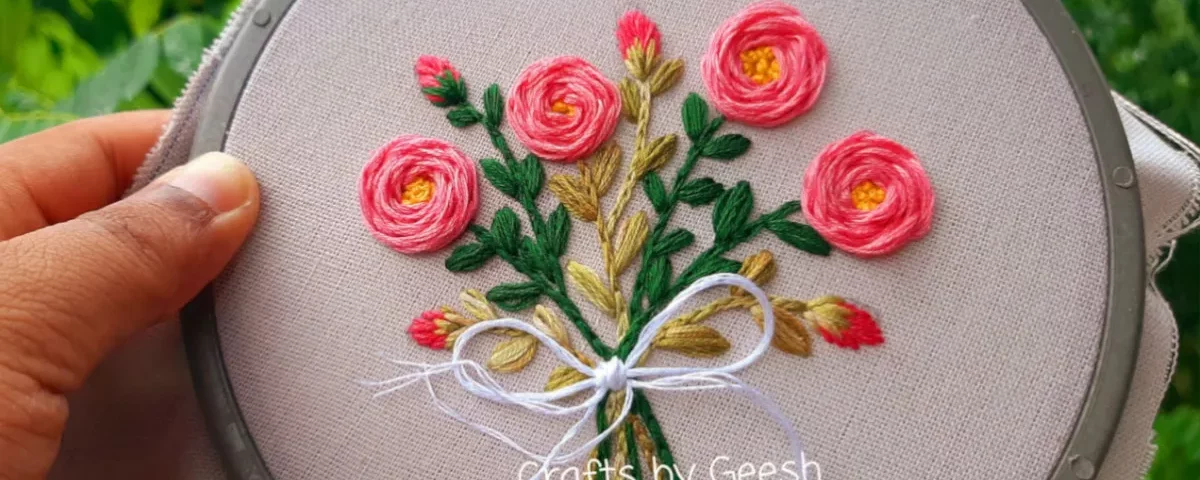
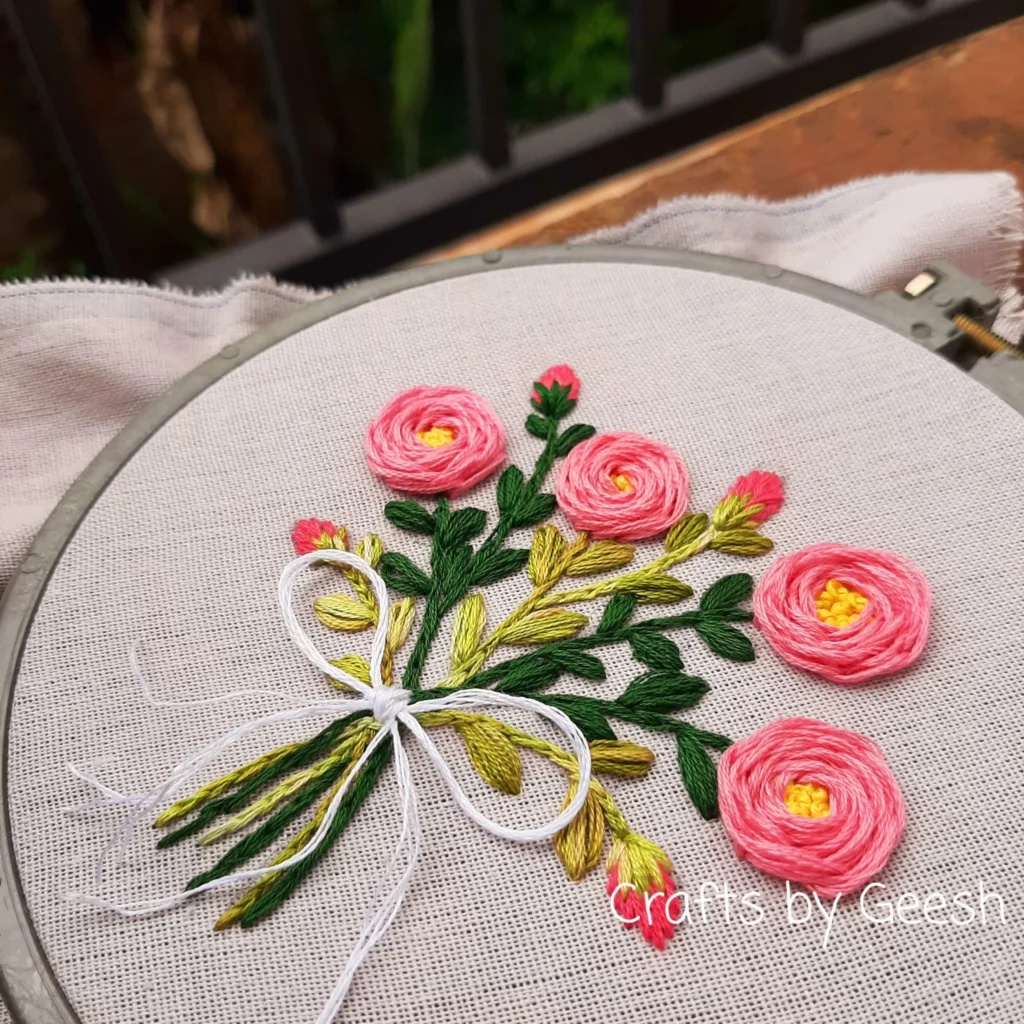
Here is the final look of my design. What do you all think?
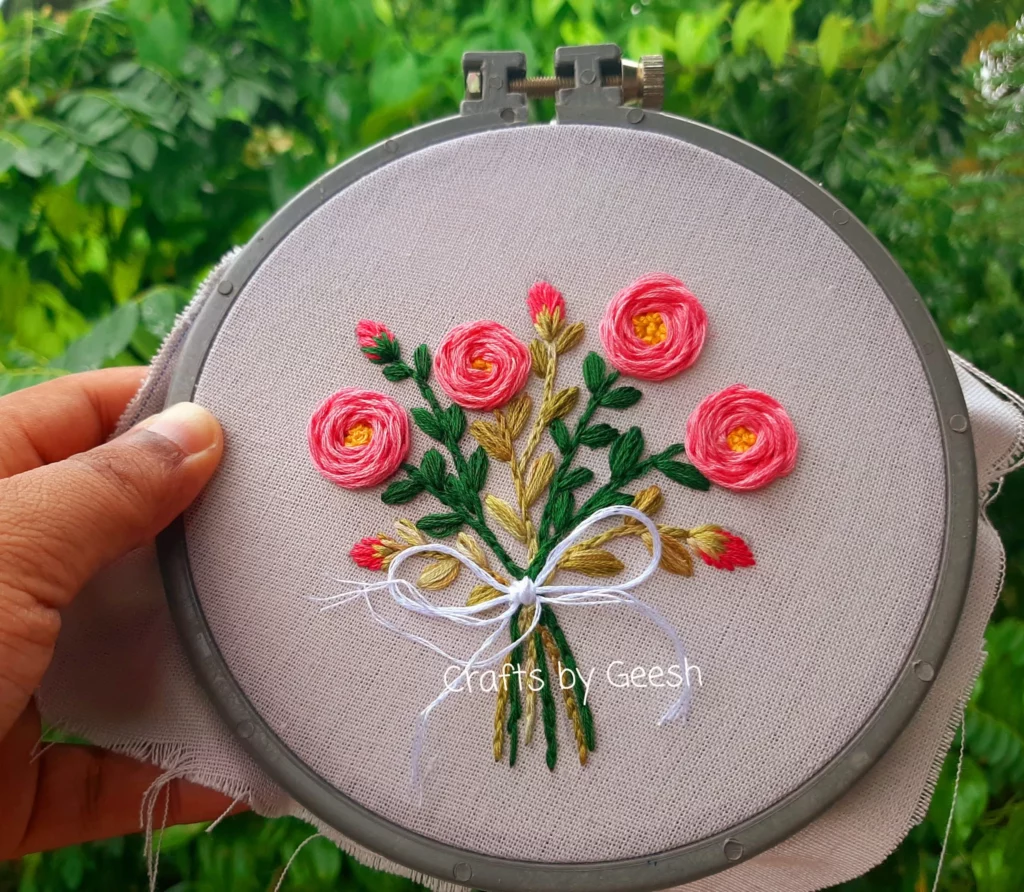
Isn’t it beautiful ??
This will soon be framed and gifted to one of my beloved friends from school.
Tutorial Video – Hand embroidery roses with stem stitch
Free Pattern to follow along the tutorial
Here is the free pattern that you can use to follow along the tutorial.
Hand embroidery Roses with Stem Stitch Pattern Download (2098 downloads )Hope you enjoy reading about this project and don’t forget to share your thoughts/experiences in the comments section.
You can find me in Instagram , Facebook , YouTube and Pinterest .
You can follow my previous tutorials and posts from here.
Thanks for reading. Hope to meet you soon with my next project.
Have a nice day !!
With LOVE,
Geesh