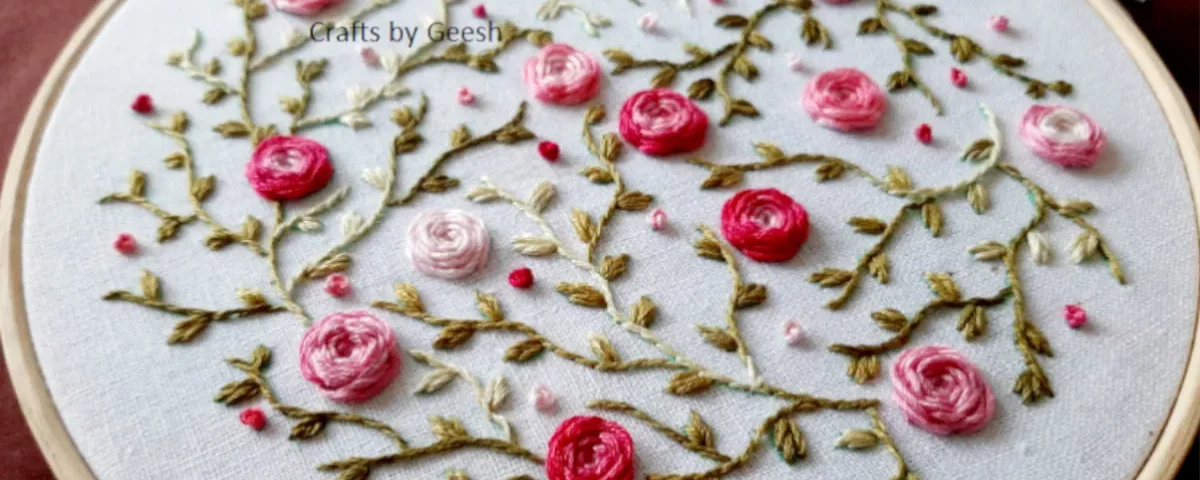
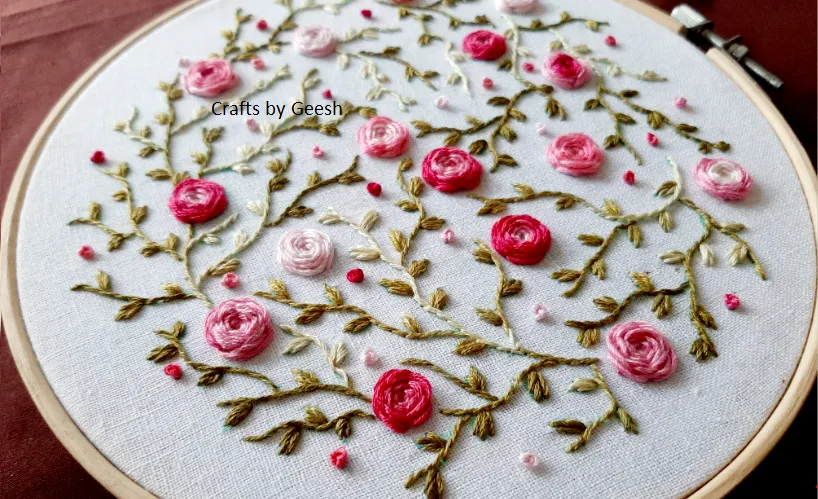
Hello friends !!!Today I’m writing about this Rose Vine hand embroidery piece I stitched for a dear friend of mine. These hand embroidered roses are super simple and fun to do. I received many lovely responses when I posted this Rose Vine hand embroidery tutorial on Facebook. So here we go.
I have stitched this design on Linen fabric and I have used cotton embroidery floss for the stitching.
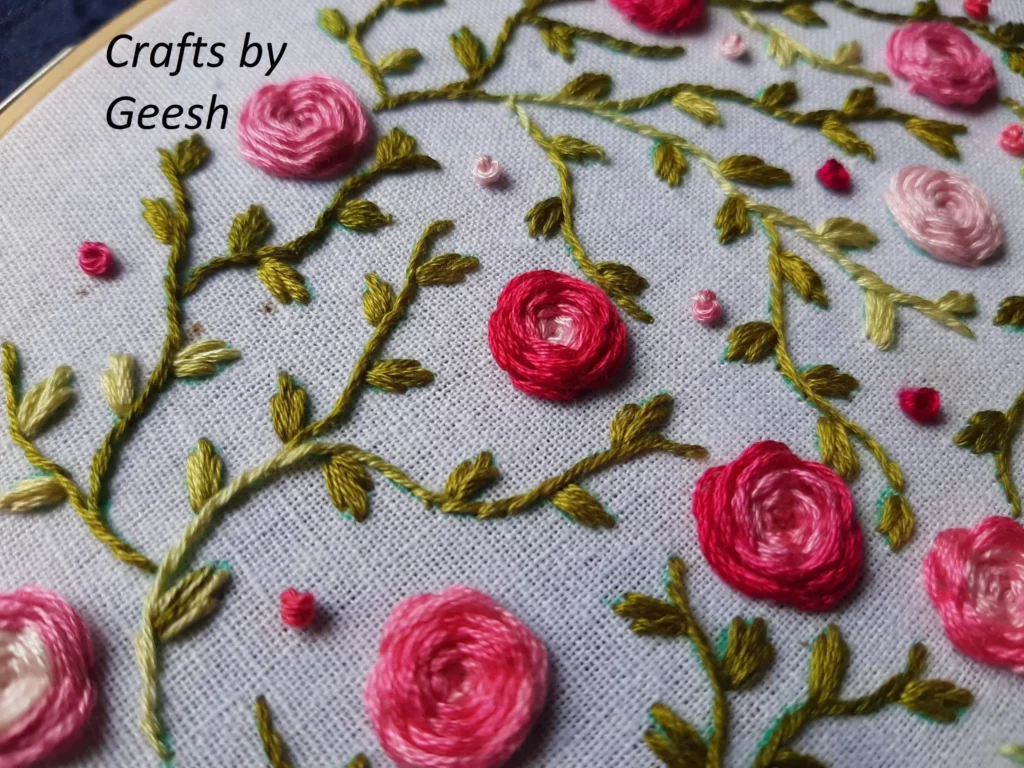
Stems and the Leaves
I used stem stitch for the stems. Almost all the time this stitch is my go to when doing curvy lines. If you are not comfortable in doing stem stitch, you can use back stitch or split back stitch for the stems.
And for the leaves I did some cheating I say. Haha !! No proper usage of a specific stitch !!! I simply used three straight stitches together to get the look of the leaf. You will easily understand this by looking at the video tutorial.
Wagon wheel stitch
So I used Wagon wheel stitch for the roses !!! This is one of my go to stitches when I receive urgent requests. Super fun and easy to stitch !!! This is an ideal stitch to make roses which will definitely look so real. All you need is a little bit of practice to pass the thread around. Don’t worry, all explained in the tutorial.
This stitch is also called as Woven wheel stitch and spider web stitch. In the video tutorial, you will find some important tips on creating a perfect wagon wheel rose.
Rose Vine Hand Embroidery Step by step video tutorial
Enjoy this Rose Vine Hand Embroidery tutorial and Happy stitching.
Thank you so much for reading. Have a blessed day !!!
You can find me in YouTube, Instagram, Facebook and Pinterest.
Have you tried stitching fluffy flowers hand embroidery? Check from here.