
Hello friends, Hope you are doing well. Today I’m writing about a cherry blossom tree embroidery which I hand embroidered soon after I started my Facebook Page.
I do love cherry blossoms. Yeah I know you all do too. I mean who doesn’t love these mind blowing pinky trees. Sometimes I wonder that I am the only one who gets a fairy tale feeling when seeing cherry blossom trees. How do you feel upon seeing a cherry blossom tree?
So in this tutorial you will learn to stitch this tree with just two basic stitches. Yeah I repeat I have only used two different stitches. All I want to say is you don’t have to know a lot of stitches in order to complete a beautiful hand embroidery project. You should never be afraid of not knowing the whole lot of the stitches out there. What you should do is get your supplies ready and stab your fabric applying the stitches you already know. Enough talking and let’s get back to the business. So here are the stitches that I used:
Trunk and branches
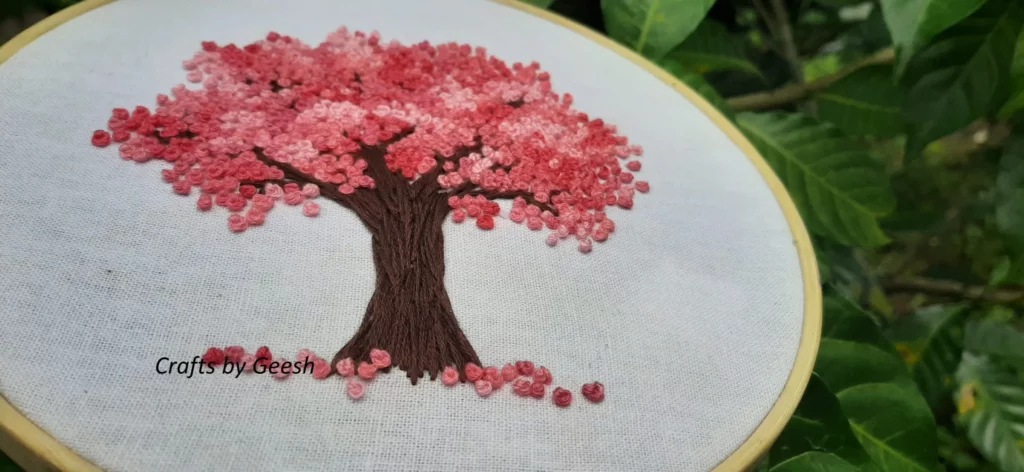
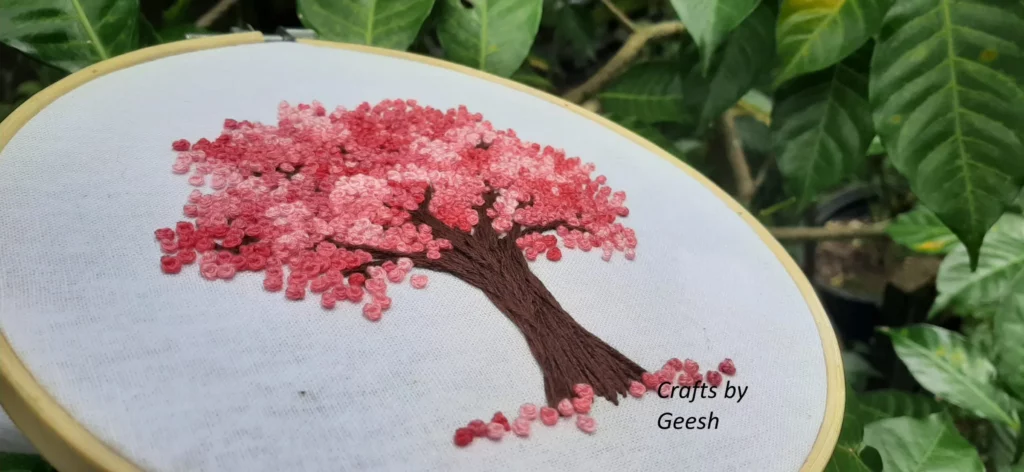
I have freely used some straight stitched to get the rough look of the trunk and the branches. If you need a more neat look, you can use a well balanced set of stem stitches or back stitches.
The blossoms
These pinky blossoms were done using french knot stitch. As you can see the tree is full of french knots and it took a considerable amount of time to fill in the tree. But guess what? I always find that there is something therapeutic in doing french knots. So I enjoyed stitching this tree a lot and spent some quality me-time.
Cherry Blossom Tree Hand Embroidery Step by Step Video Tutorial
Enjoy this video and Happy stitching to you all.
Find my previous embroidery tutorials from here. You can also find me in below places.
Facebook, Instagram, YouTube, Pinterest.
Thank you for stopping by.
Have a blessed day.
Much Love, Geesh.